Lesson: Storytelling With Prints

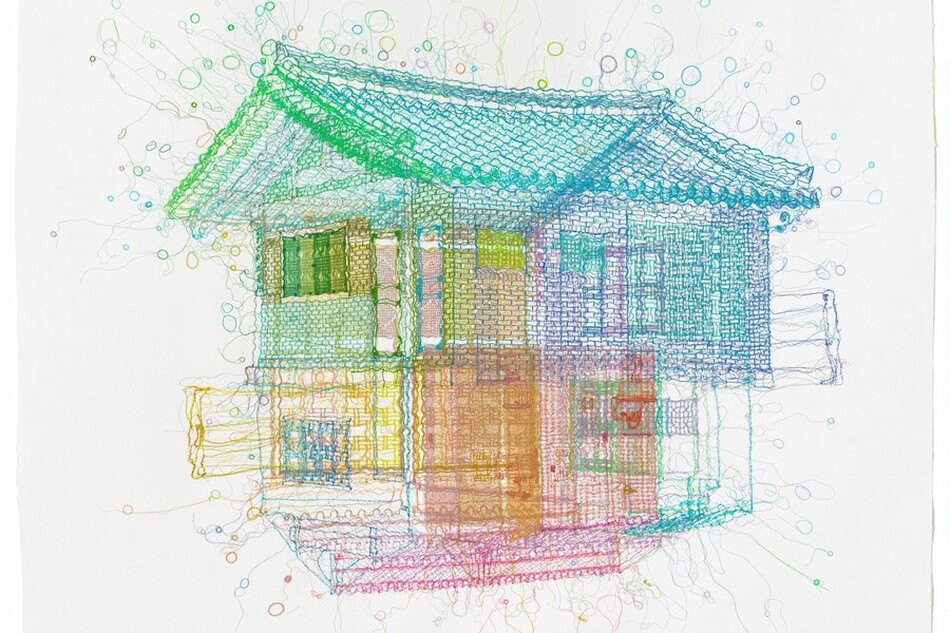
In this activity, students tell a personal story through visuals. They explore printmaking as a way to shape the story. How can a single image tell a story? How does this story represent you? What are the story’s visual elements?

Learning Objectives

  • Discuss and define what personal and cultural identity mean.
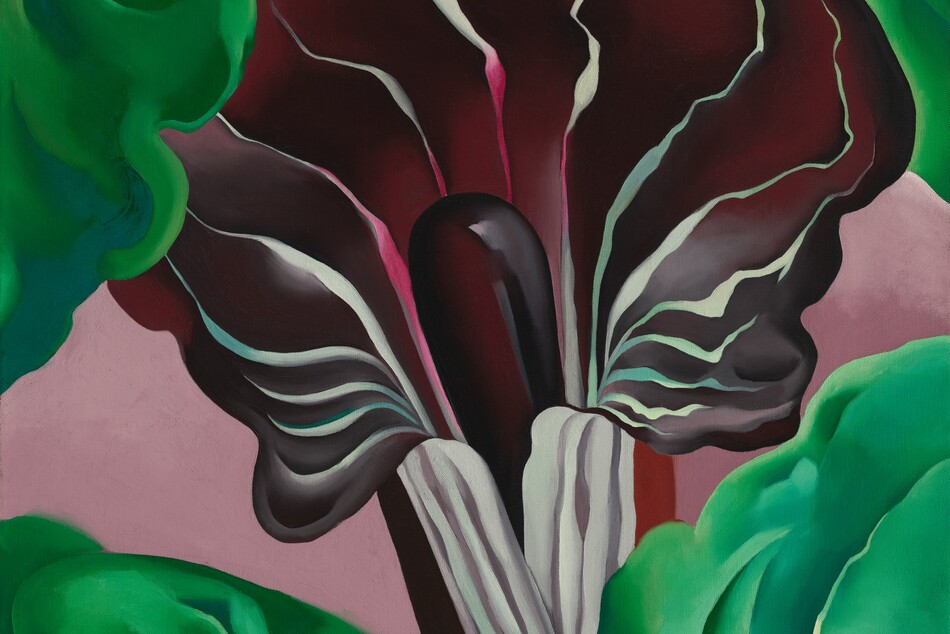
  • Consider how artists tell individual and collective stories through images.
  • Learn about the mechanisms of printmaking and practiceusing tools.
  • Use basic principles of design to create a print image.
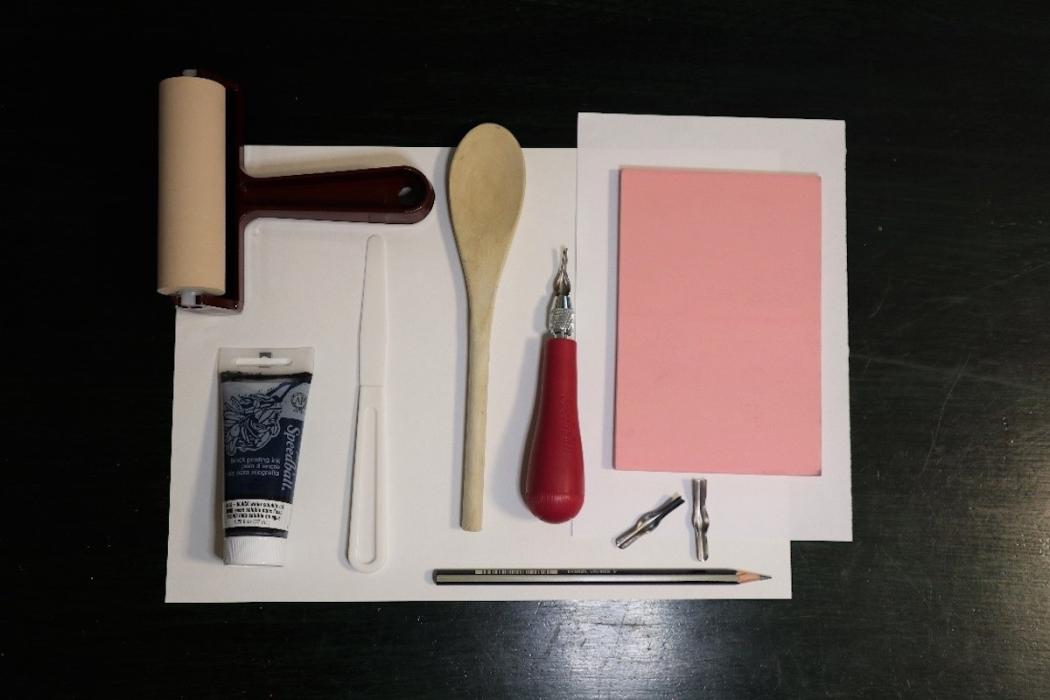
Materials

  • Linoleum block (alternative: Styrofoam plate)
  • Carving tools (alternative: pencil or pen to create lines)
  • Printmaking ink (alternative: acrylic paint)
  • Plexiglas plate or palette
  • Rubber brayer (alternative: roller)
  • Palette knife (alternative: plastic knife or popsicle stick)
  • Wooden spoon or baren
  • Pencil
  • Paper

Creating a Print

Have students draw a scene that shows something about their life. What visual elements can they include in their drawing to convey the core of the story? Which of these elements might be repeated as the story continues?

The paper for the print should be the same size as or larger than the linoleum block. If the paper is larger than the block, draw an outline of the block on the paper to keep the size accurate.

Remember that the image prints in reverse. To include a word or phrase, create a holding spot on the block.

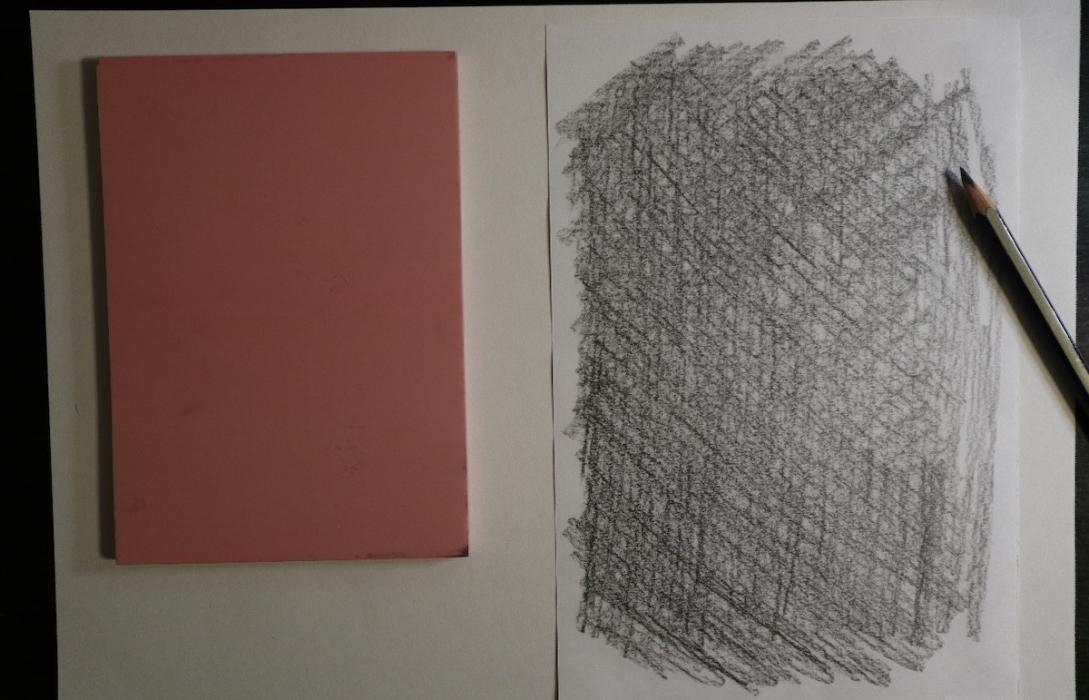
Students can either repeat their drawing onto the block or transfer it by covering the back of the drawing in graphite and tracing over it. To transfer, shade the back of the drawing using a pencil in multiple directions. Completely cover the paper.

Since the print is a reverse image of the drawing, words and phrases should be backwards on the block. Practice before you write backwards directly on the block. Keep in mind that carved lines will be white in the final print.

Tip: Use graphite paper to transfer a drawing and to write words backwards on the block.

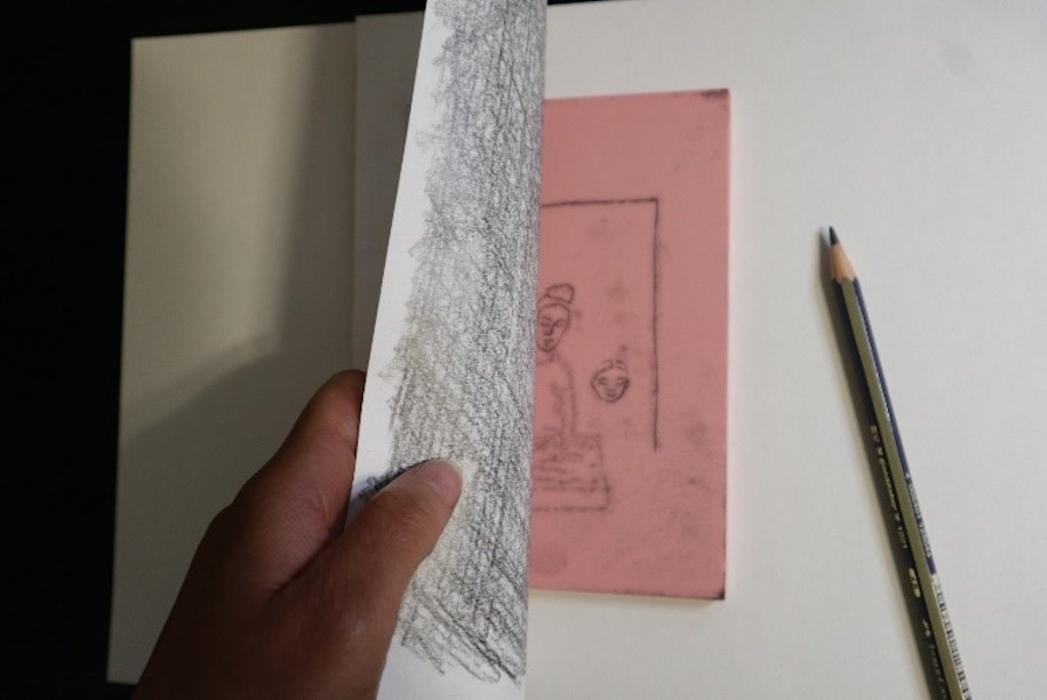
Place the paper on the linoleum block, with the graphite side down and the drawing facing up. Trace over the drawing with a pencil, using a medium amount of pressure. Slowly lift a corner of the drawing to check if the lines are transferring.

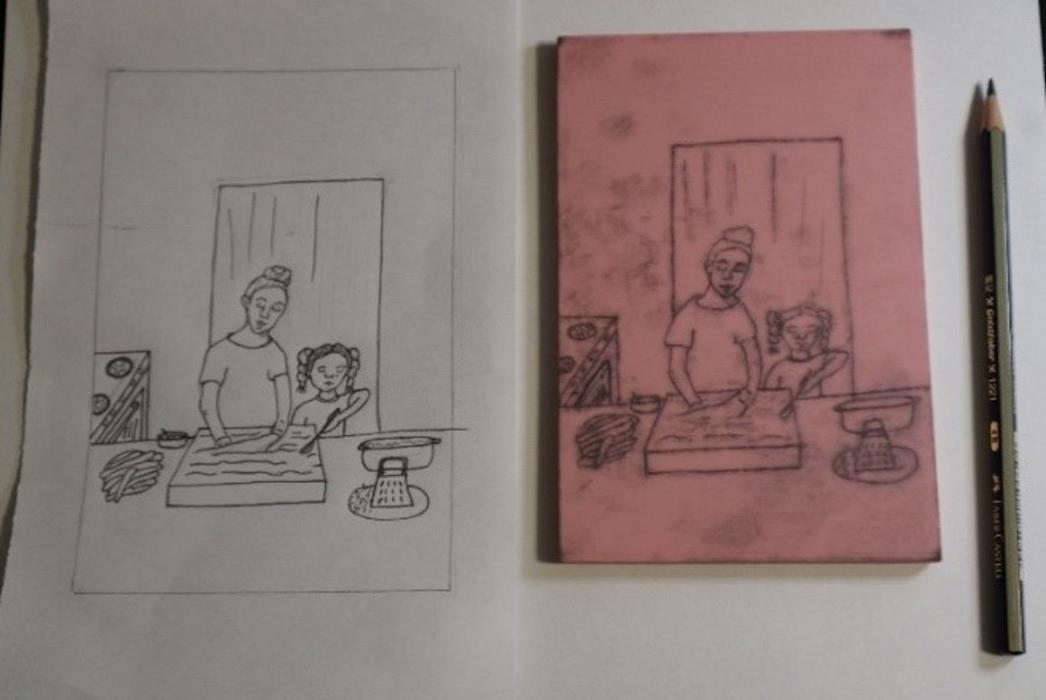
Touch up the transferred image as needed.

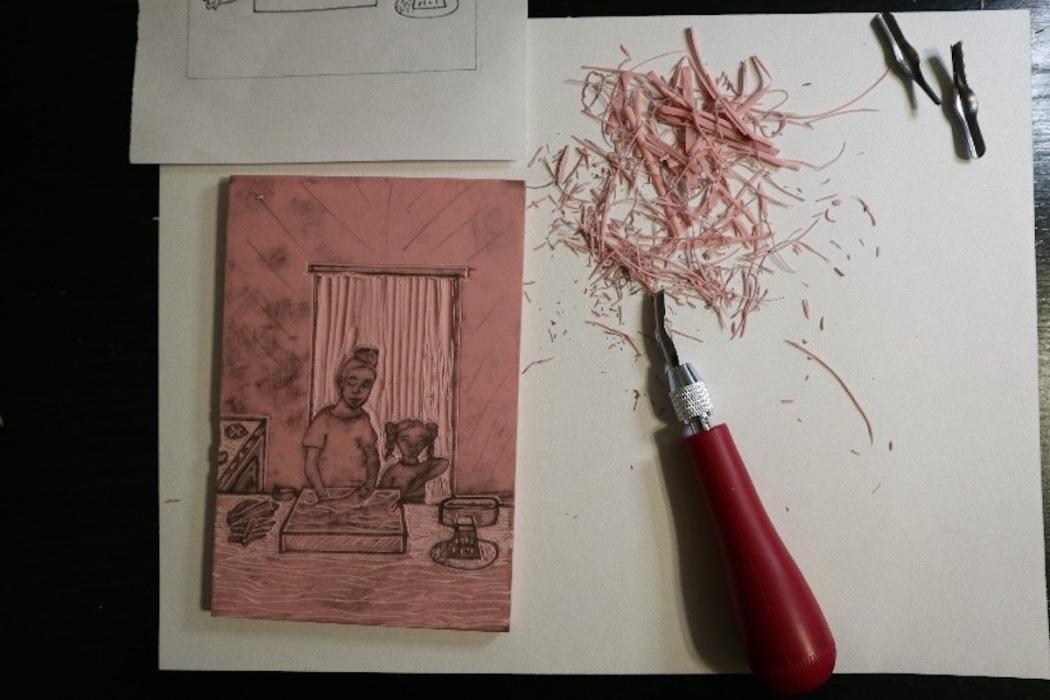
Carve the block carefully, keeping in mind how thick or thin lines should be. Work slowly to prevent injury. Remember to cut away from yourself.

Carving tools have different sized gouges. Larger gouges allow more of the block to be removed. Smaller gouges are great for details and fine lines.

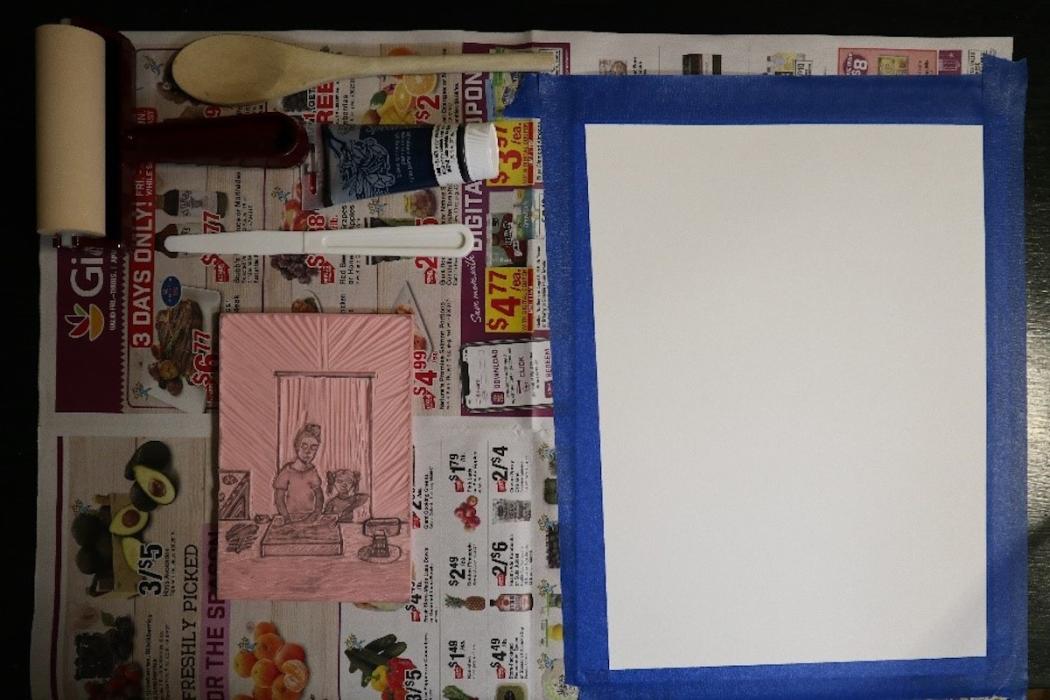
After the carving is complete, you will need to make a proof. This helps you to see how the block will print and allows you to make final changes. Save paper by printing on butcher paper or scrap paper. First, clean off the block with a damp paper towel. Lay out all the printing materials.

Tip: To keep sizing accurate, draw an outline of the final paper on the larger scrap paper. This will also make centering the block easier.

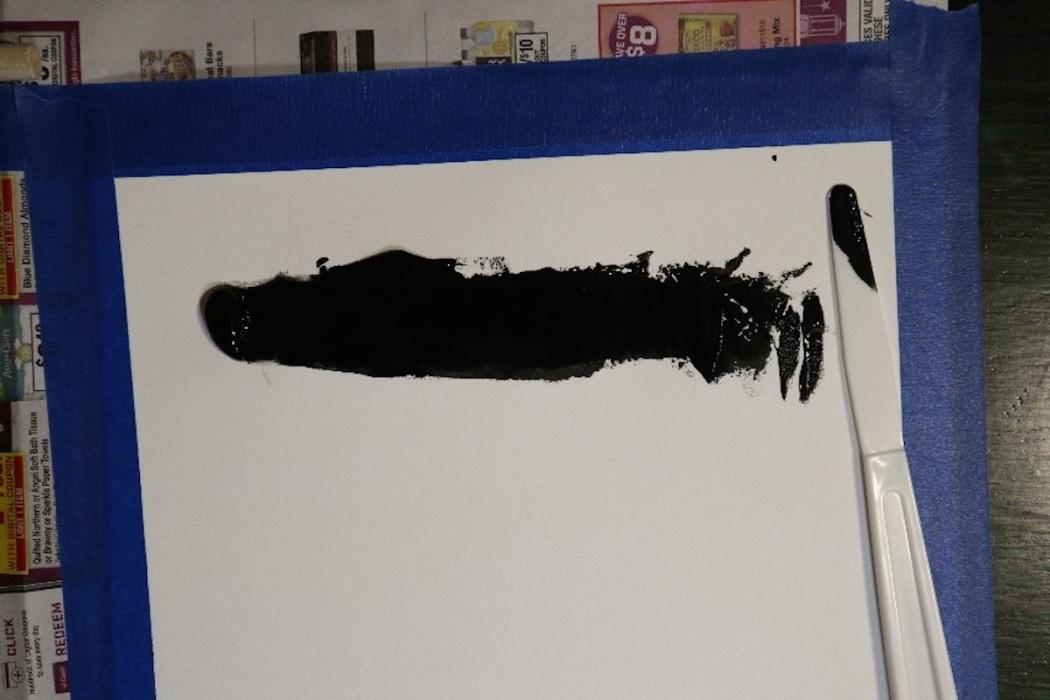
Squeeze a small to medium amount of ink onto a Plexiglas plate. Use wax paper on a flat surface as an alternative. Spread the ink out with a palette knife. Use a plastic knife or a popsicle stick as an alternative.

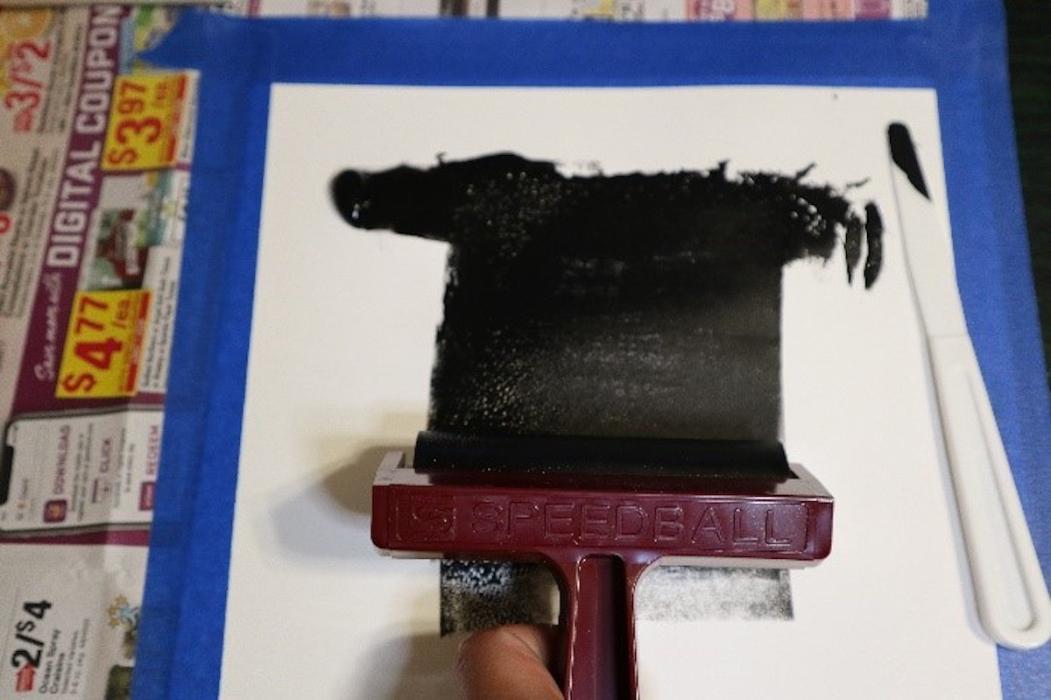
Roll out the ink with the brayer, then evenly coat the block with ink.

Place the block face up in the center of the outlined paper. Align the paper over the block.

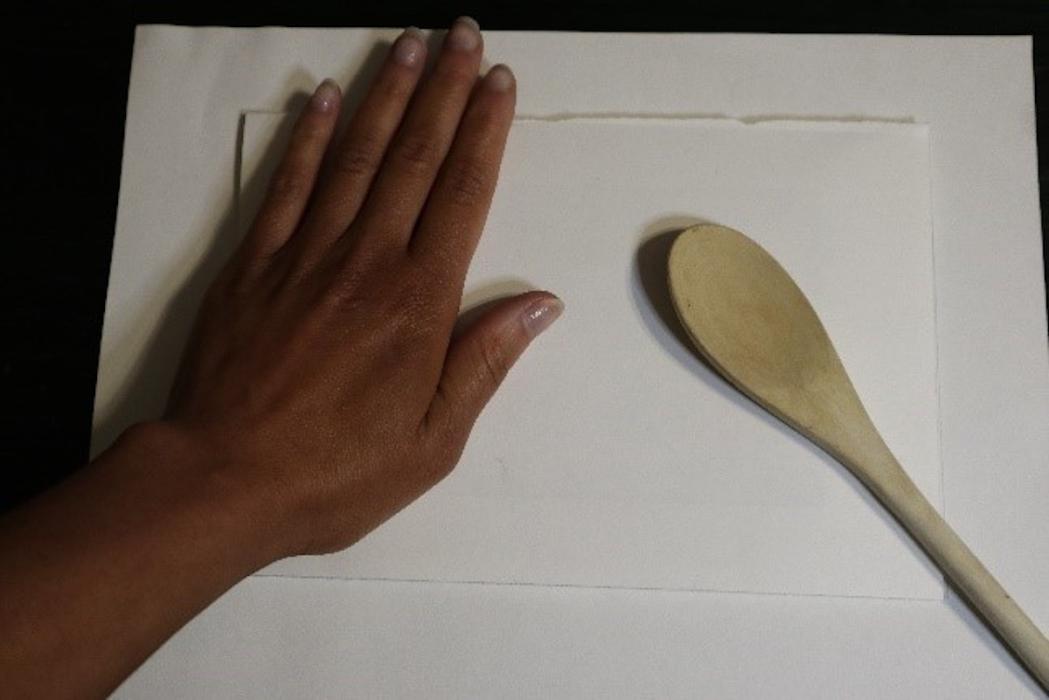
Use a wooden spoon or baren to rub the back of the paper in a circular motion. Be sure to go over the entire image.

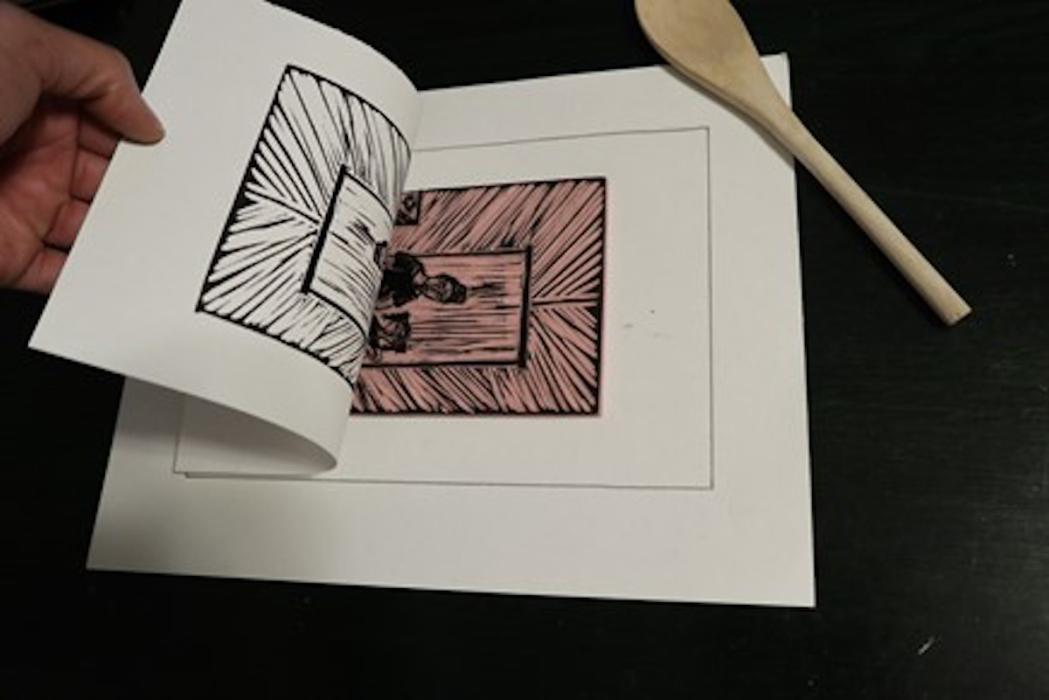
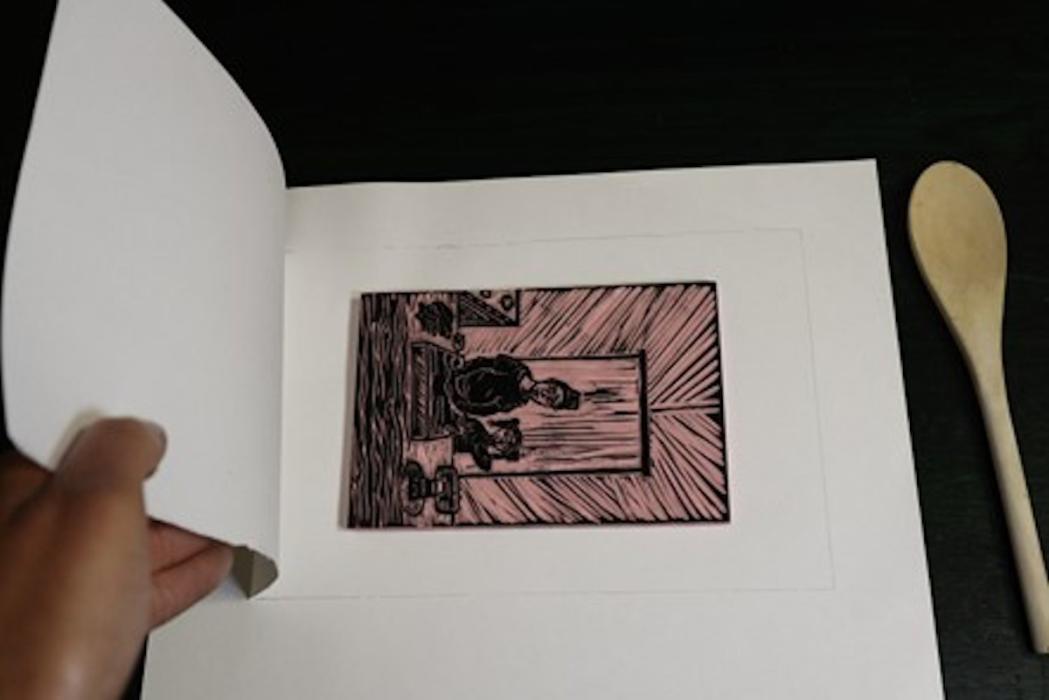
Slowly lift a corner of the paper to check if the ink is transferring. If the ink does not look dark enough, continue to rub the paper with the spoon.

When done, carefully lift the paper off the block and place it in a clean area to dry. Clean the block.

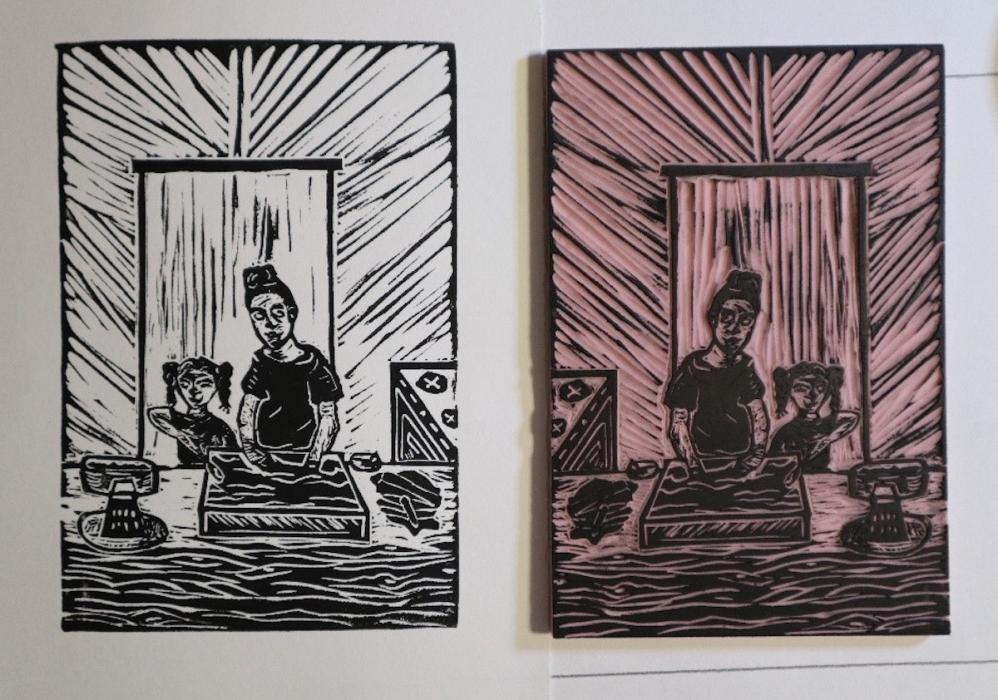
To make the final print, repeat the printing process, but this time use higher quality paper. Remember to re-ink the block between prints.

Be sure to clean the block when you’re done. Use vegetable oil and paper towels to remove oil-based ink. Clean the block with soap and water if you used acrylic-based or water-soluble ink.

Students can exhibit their single prints and write statements to accompany them. They might consider how to expand the story by creating new, related prints or by adding elements to the existing print.

Core Arts Standards

VA:Cr2.1.7a Demonstrate persistence in developing skills with various materials, methods, and approaches in creating works of art or design.

VA:Cr2.3.7a Apply visual organizational strategies to design and produce a work of art, design, or media that clearly communicates information or ideas.

VA:Re8.1.7a Interpret art by analyzing artmaking approaches, the characteristics of form and structure, relevant contextual information, subject matter, and use of media to identify ideas and mood conveyed.

You may also like

We look slightly down onto a crush of pedestrians, horse-drawn carriages, wagons, and streetcars enclosed by a row of densely spaced buildings and skyscrapers opposite us in this horizontal painting. The street in front of us is alive with action but the overall color palette is subdued with burgundy red, grays, and black, punctuated by bright spots of harvest yellow, shamrock green, apple red, and white. Most of the people wear long dark coats and black hats but a few in particular draw the eye. For instance, in a patch of sunlight in the lower right corner, three women wearing light blue, scarlet-red, or emerald-green dresses stand out from the crowd. The sunlight also highlights a white spot on the ground, probably snow, amid the crowd to our right. Beyond the band of people in the street close to us, more people fill in the space around carriages, wagons, and trolleys, and a large horse-drawn cart piled with large yellow blocks, perhaps hay, at the center of the composition. A little in the distance to our left, a few bare trees stand around a patch of white ground. Beyond that, in the top half of the painting, city buildings are blocked in with rectangles of muted red, gray, and tan. Shorter buildings, about six to ten stories high, cluster in front of the taller buildings that reach off the top edge of the painting. The band of skyscrapers is broken only by a gray patch of sky visible in a gap between the buildings to our right of center, along the top of the canvas. White smoke rises from a few chimneys and billboards and advertisements are painted onto the fronts of some of the buildings. The paint is loosely applied, so many of the people and objects are created with only a few swipes of the brush, which makes many of the details indistinct. The artist signed the work with pine-green paint near the lower left corner: “Geo Bellows.”

Educational Resource:  Exploring Identity through Modern Art

How do artists draw on memories and experiences to create art that reflects their identities? How does an artist’s connection to place spark inspiration? Through guided looking, sketching, and writing activities, students will consider how artists explore identity through their art.

Two women with pale skin look out at us from the other side of a rectangular window opening with a shadowy interior behind them in this vertical painting. On our right, in the lower third of the composition, one young woman leans toward us over her left arm, which rests along the window ledge. She bends her right arm and props her chin on her fist. She looks at us with dark brown eyes under dark brows. She has shiny chestnut-brown hair with a strawberry-red bow on the right side of her head, to our left. She has a straight nose, and her full pink lips curve up in a smile. She wears a gossamer-white dress with a wide neckline trimmed in dark gray, with another red bow on the front of her chest. Her voluminous sleeves are pushed back to her elbows. To our left, a second woman peeks around a partially opened shutter. She is slightly older, and she stands next to the first woman with her body facing us. She tilts her head and also gazes at us with dark eyes under dark brown brows. She has dark brown hair covered by an oyster-white shawl. She holds the shawl up with her right hand to cover the bottom half of her face. Her mouth is hidden but her eyes crinkle as if in a smile. Her left arm bends at the elbow as she grasps the open shutter. She also wears a white shirt pushed back to her elbows, and a rose-pink skirt. The frame of the window runs parallel to the sides and bottom of the canvas. The room behind them is black in shadow.

Educational Resource:  Spanish Art

During this two-building field trip, students explore and compare and contrast the style, subject matter, and technique of artists ranging from El Greco to Picasso.

Four people with black skin are squeezed into a narrow boat on bright, turquoise-colored water that nearly fills this stylized, square painting. All four sides of the unstretched canvas are lined with six gromets spaced along each edge. The boat approaches a carnival-like tunnel near the upper right corner. Cartoon ghosts loom at the tunnel entrance and a translucent, veil-like ghost hovers over the left half of the painting. The horizon comes almost to the top of the canvas, where white clouds float against an azure-blue sky. A long, lemon-yellow line curls back and forth in a tight, curving zigzag pattern that widens out from a tiny sun setting on the horizon. A red cross on a white field floats near the upper left. At the top center, the word “WOW” appears in white letters within a crimson-red, bursting speech bubble with long trailing tendrils, like an exploded firework. Below the boat and against the water to our right, the word “FUN” has been overlaid with a white square so the tall, white letters are barely visible. The words “GREAT AMERICA” appear in a curling banner across the bottom half of the painting.

Educational Resource:  Breaking the Rules

What is modern about modern art? Students investigate how artists "break the rules" when they depart from realistic representation, use innovative techniques, and engage the viewer as a partner in creating meaning-making.