Lesson: Storytelling With Prints
In this activity, students tell a personal story through visuals. They explore printmaking as a way to shape the story. How can a single image tell a story? How does this story represent you? What are the story’s visual elements?
Language
Learning Objectives
- Discuss and define what personal and cultural identity mean.
- Consider how artists tell individual and collective stories through images.
- Learn about the mechanisms of printmaking and practiceusing tools.
- Use basic principles of design to create a print image.
Materials
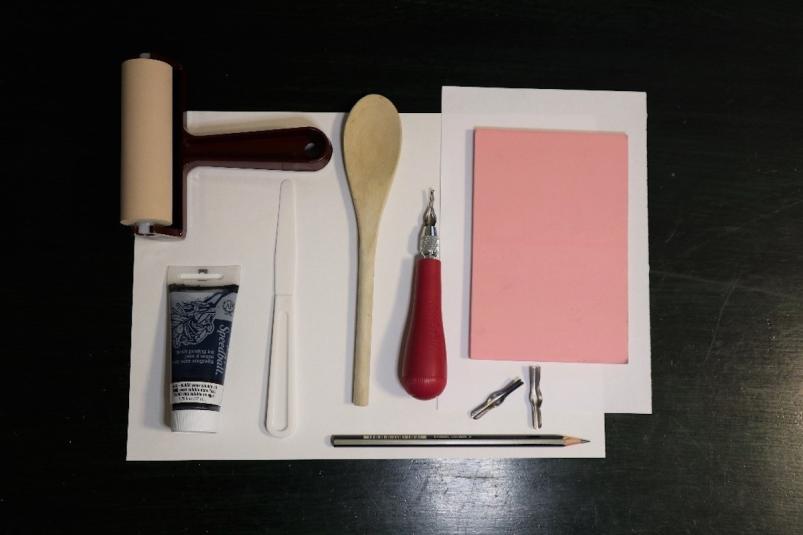
- Linoleum block (alternative: Styrofoam plate)
- Carving tools (alternative: pencil or pen to create lines)
- Printmaking ink (alternative: acrylic paint)
- Plexiglas plate or palette
- Rubber brayer (alternative: roller)
- Palette knife (alternative: plastic knife or popsicle stick)
- Wooden spoon or baren
- Pencil
- Paper
Creating a Print
Have students draw a scene that shows something about their life. What visual elements can they include in their drawing to convey the core of the story? Which of these elements might be repeated as the story continues?
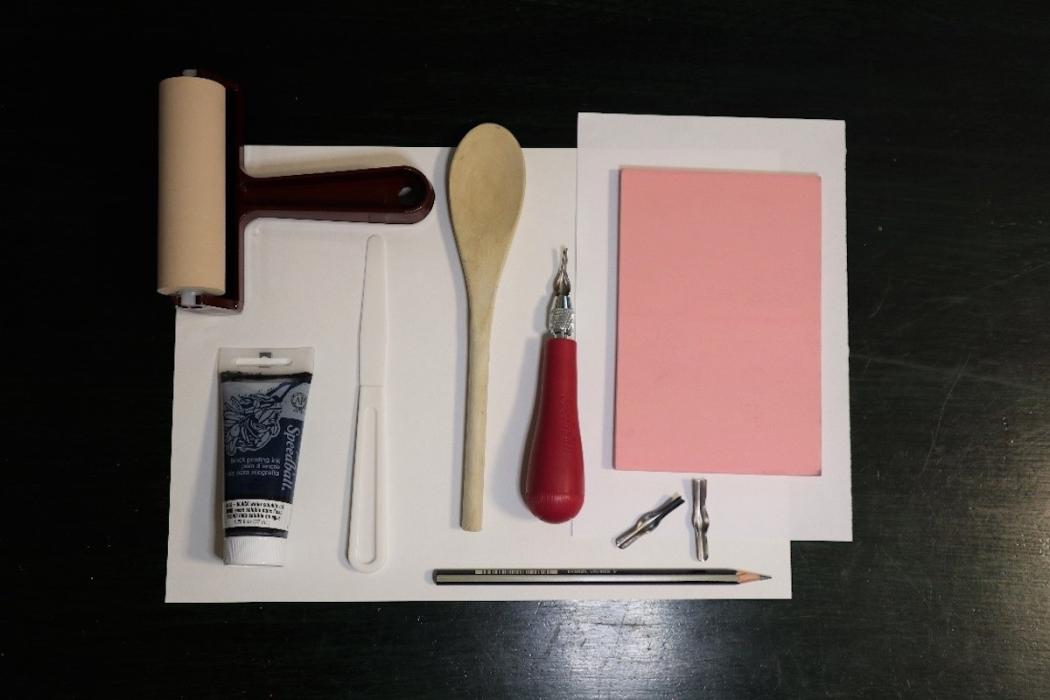
The paper for the print should be the same size as or larger than the linoleum block. If the paper is larger than the block, draw an outline of the block on the paper to keep the size accurate.
Remember that the image prints in reverse. To include a word or phrase, create a holding spot on the block.
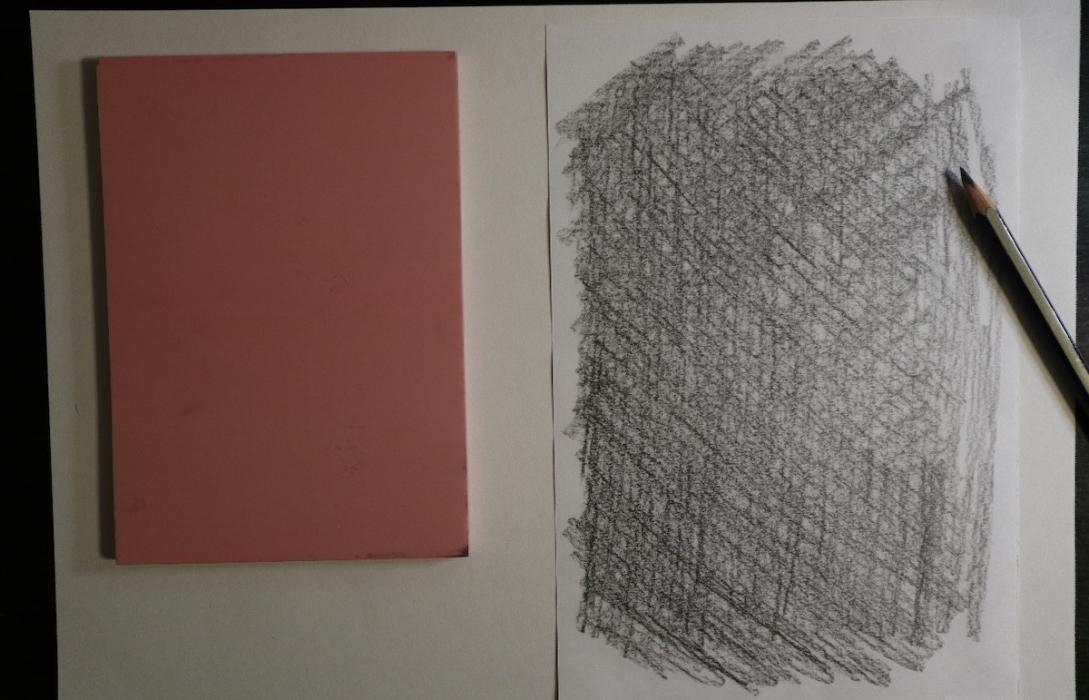
Students can either repeat their drawing onto the block or transfer it by covering the back of the drawing in graphite and tracing over it. To transfer, shade the back of the drawing using a pencil in multiple directions. Completely cover the paper.
Since the print is a reverse image of the drawing, words and phrases should be backwards on the block. Practice before you write backwards directly on the block. Keep in mind that carved lines will be white in the final print.
Tip: Use graphite paper to transfer a drawing and to write words backwards on the block.
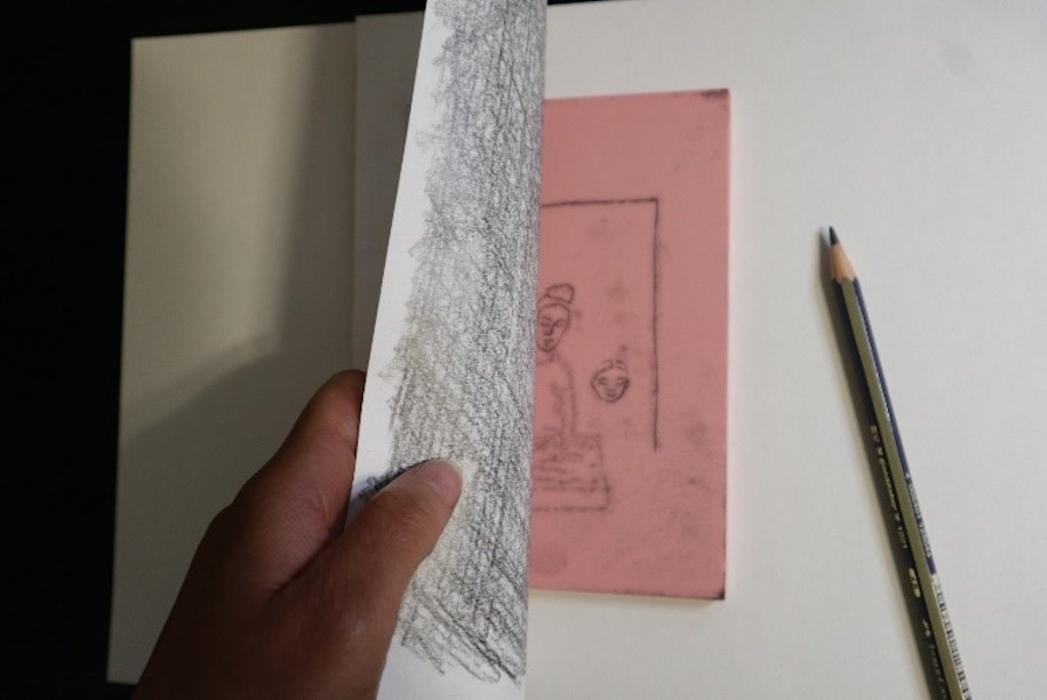
Place the paper on the linoleum block, with the graphite side down and the drawing facing up. Trace over the drawing with a pencil, using a medium amount of pressure. Slowly lift a corner of the drawing to check if the lines are transferring.
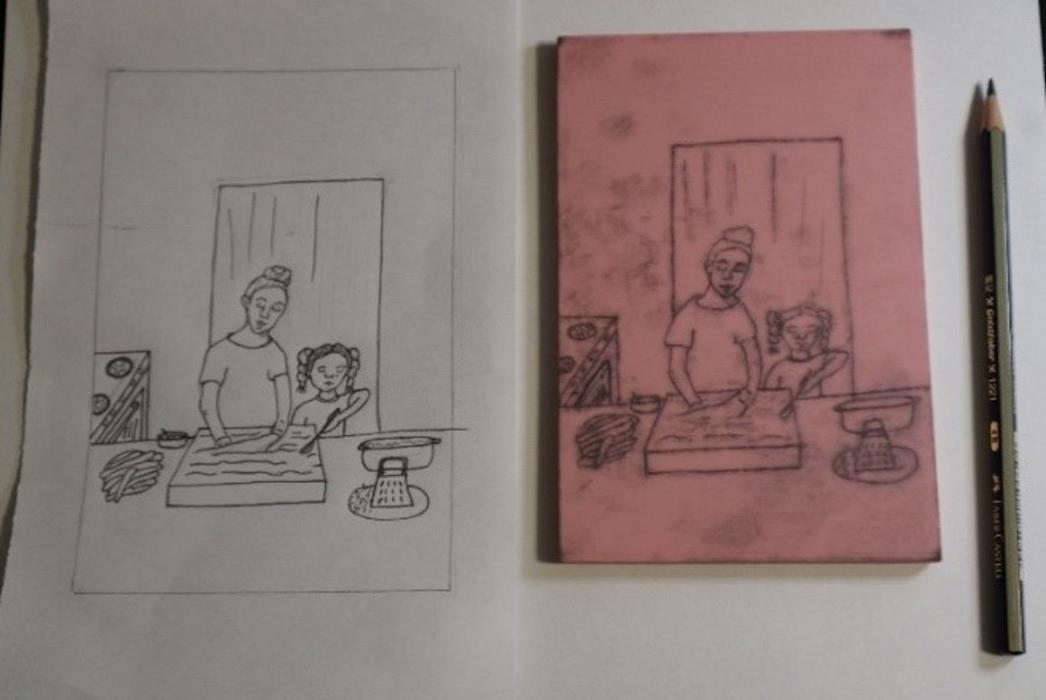
Touch up the transferred image as needed.
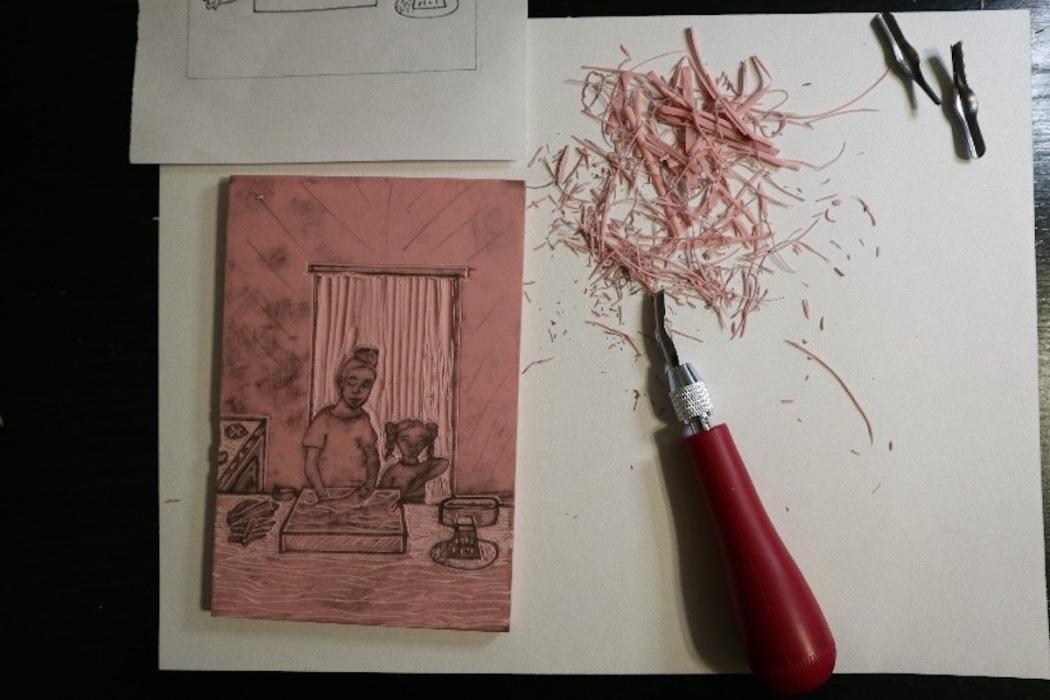
Carve the block carefully, keeping in mind how thick or thin lines should be. Work slowly to prevent injury. Remember to cut away from yourself.
Carving tools have different sized gouges. Larger gouges allow more of the block to be removed. Smaller gouges are great for details and fine lines.
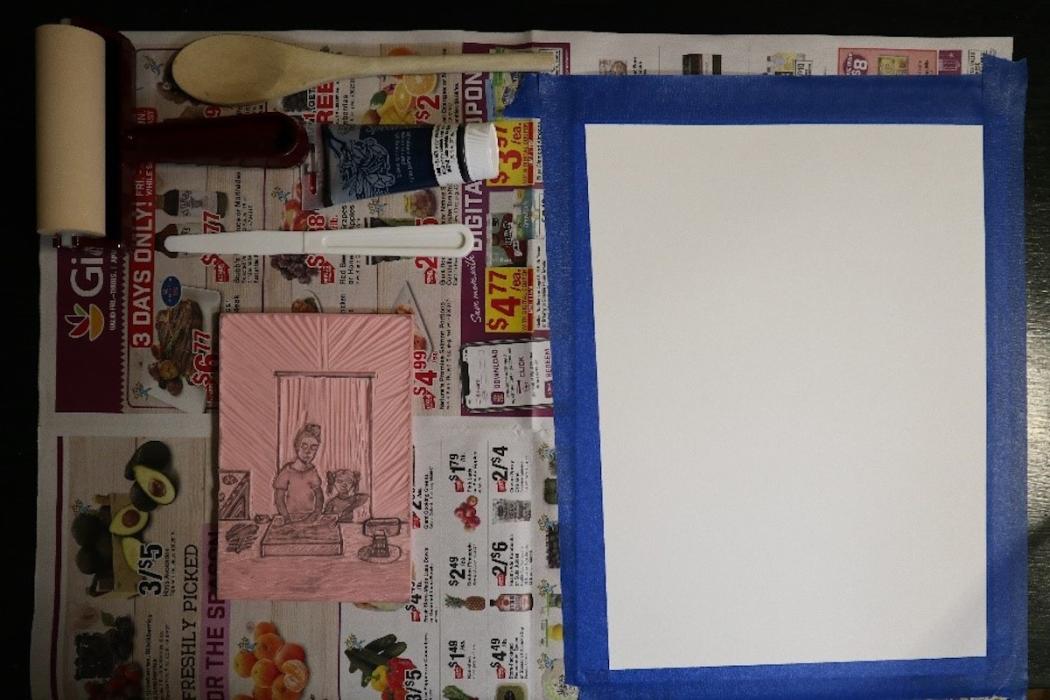
After the carving is complete, you will need to make a proof. This helps you to see how the block will print and allows you to make final changes. Save paper by printing on butcher paper or scrap paper. First, clean off the block with a damp paper towel. Lay out all the printing materials.
Tip: To keep sizing accurate, draw an outline of the final paper on the larger scrap paper. This will also make centering the block easier.
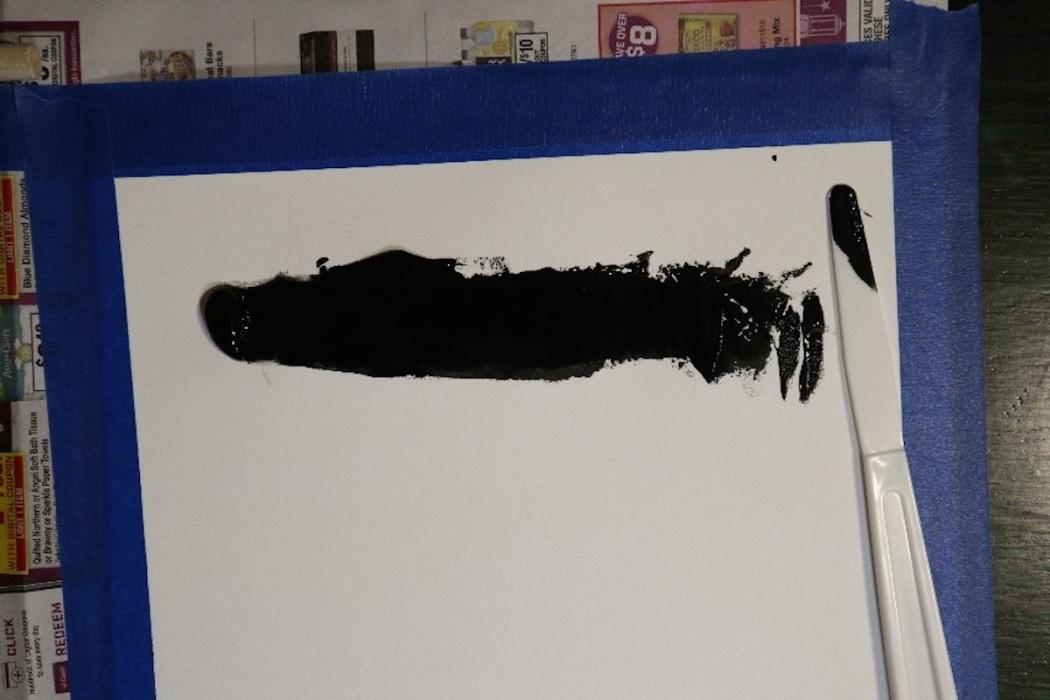
Squeeze a small to medium amount of ink onto a Plexiglas plate. Use wax paper on a flat surface as an alternative. Spread the ink out with a palette knife. Use a plastic knife or a popsicle stick as an alternative.
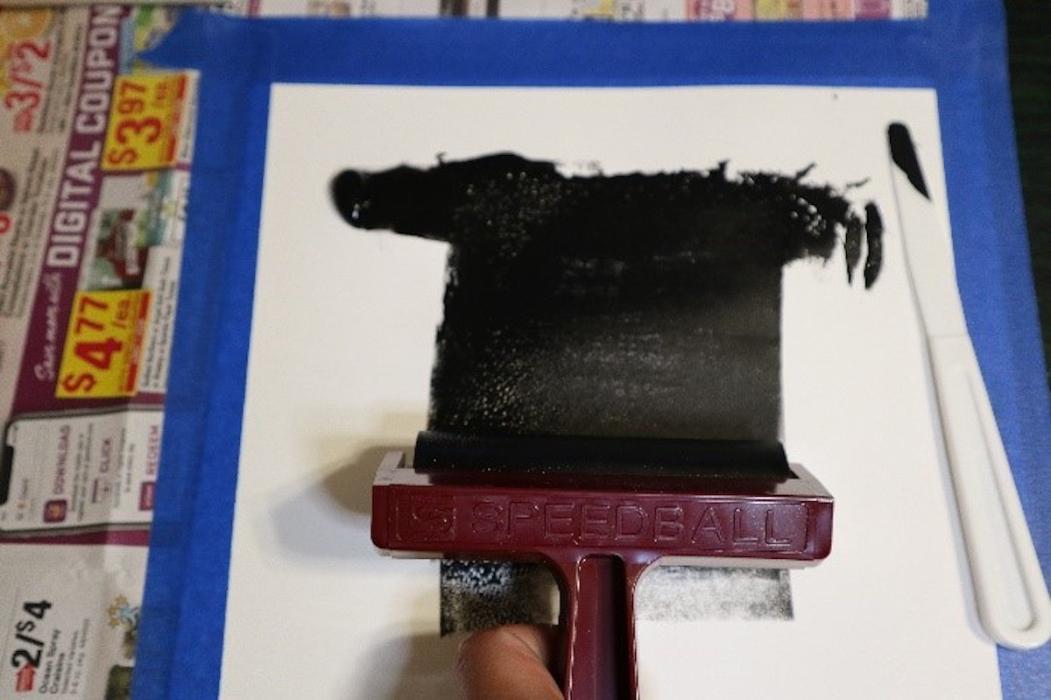
Roll out the ink with the brayer, then evenly coat the block with ink.
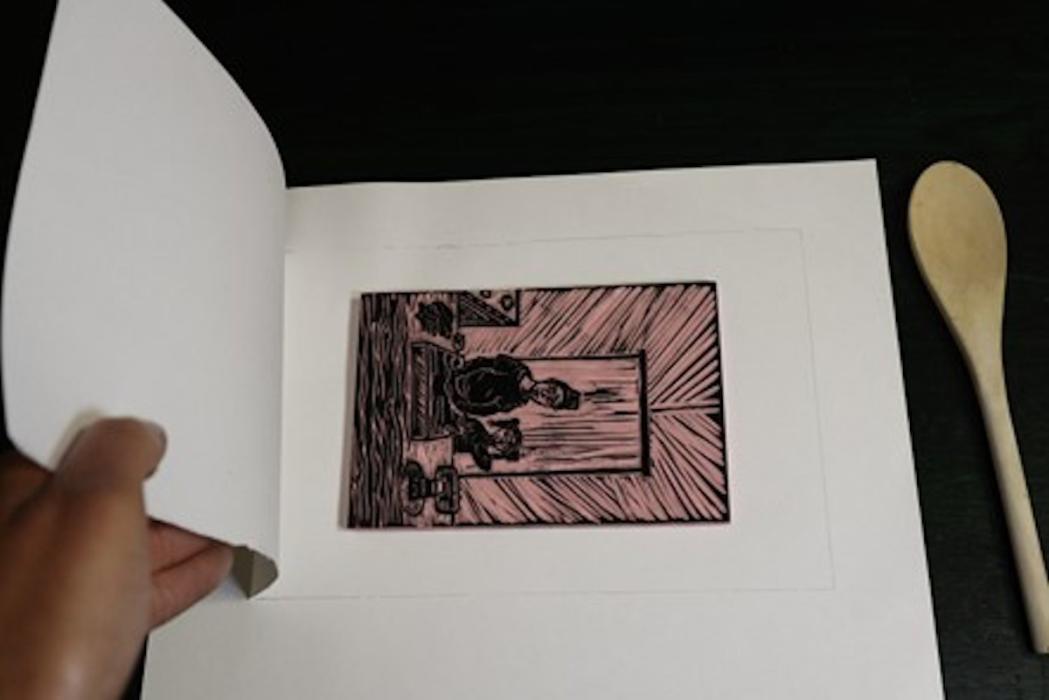
Place the block face up in the center of the outlined paper. Align the paper over the block.
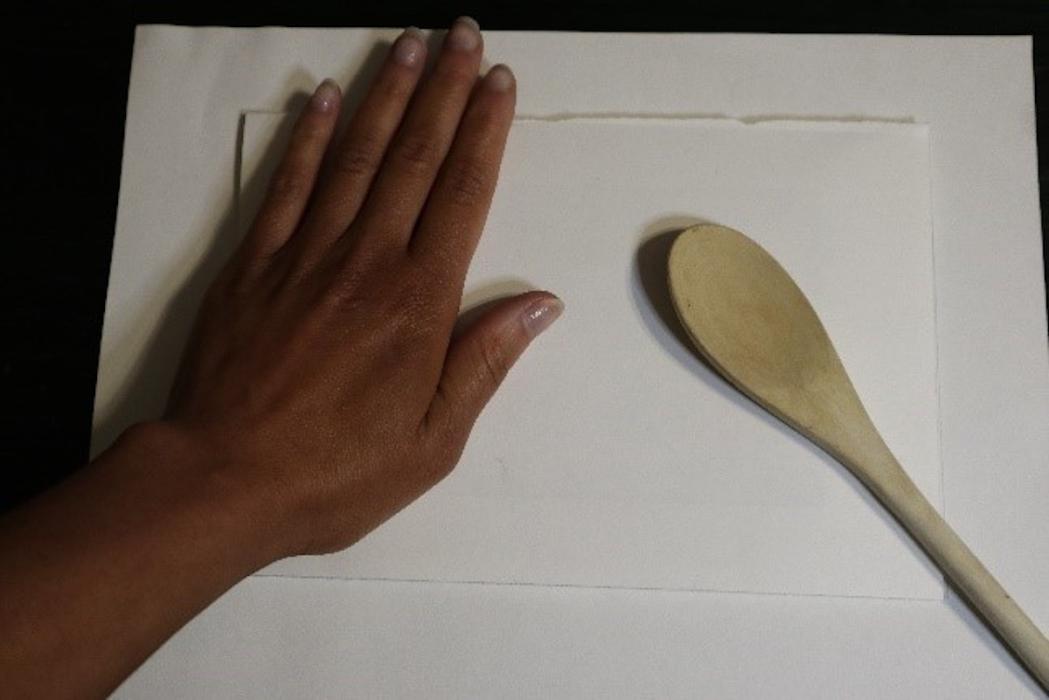
Use a wooden spoon or baren to rub the back of the paper in a circular motion. Be sure to go over the entire image.
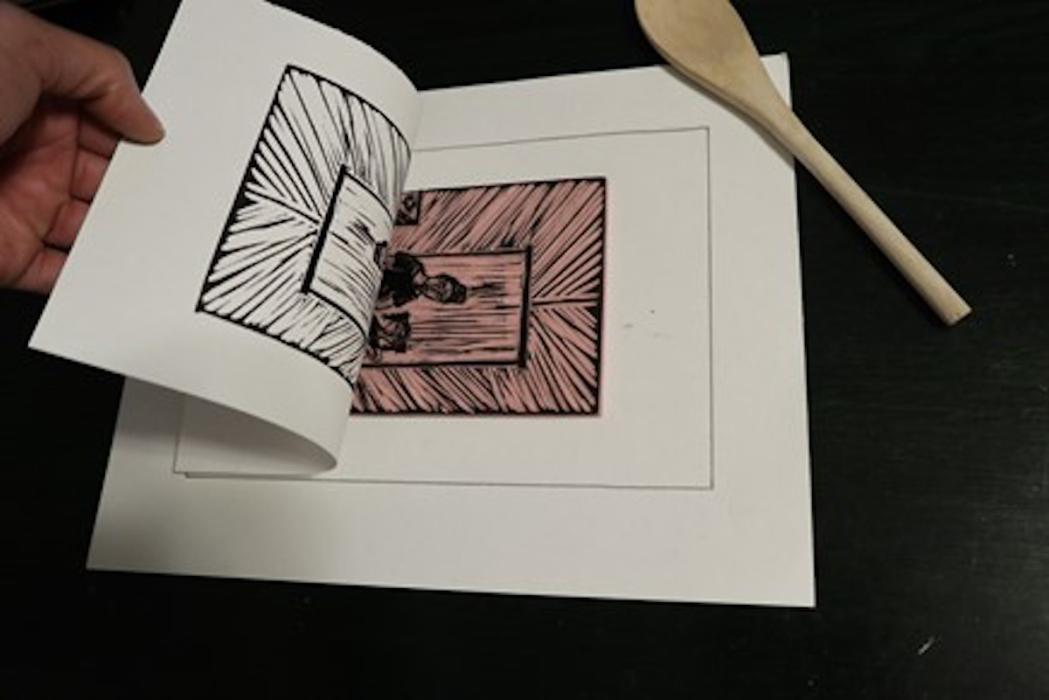
Slowly lift a corner of the paper to check if the ink is transferring. If the ink does not look dark enough, continue to rub the paper with the spoon.
When done, carefully lift the paper off the block and place it in a clean area to dry. Clean the block.
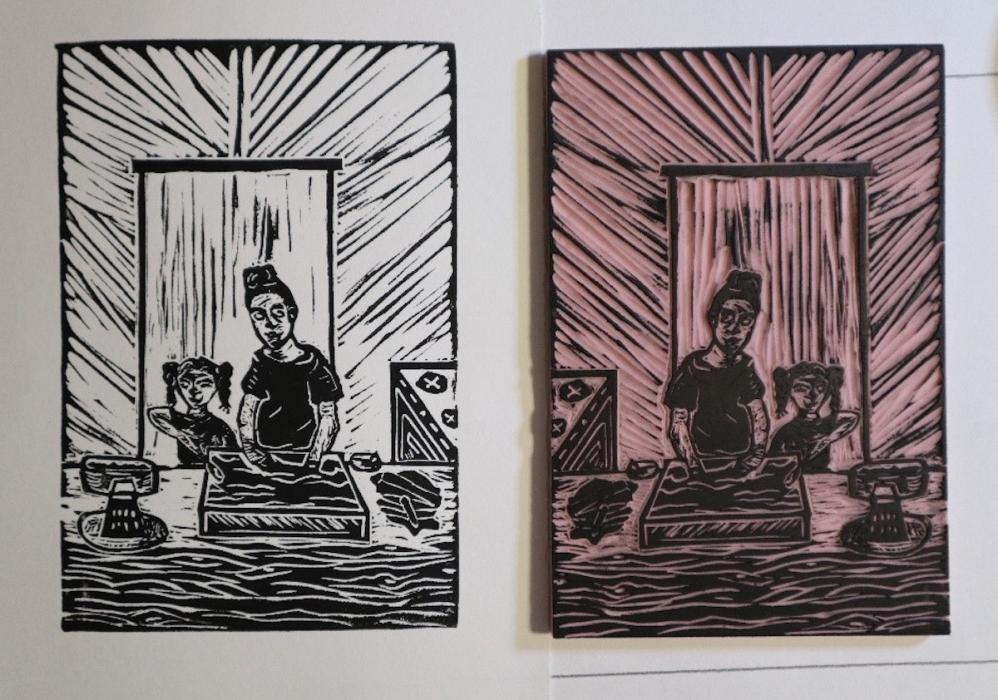
To make the final print, repeat the printing process, but this time use higher quality paper. Remember to re-ink the block between prints.
Be sure to clean the block when you’re done. Use vegetable oil and paper towels to remove oil-based ink. Clean the block with soap and water if you used acrylic-based or water-soluble ink.
Students can exhibit their single prints and write statements to accompany them. They might consider how to expand the story by creating new, related prints or by adding elements to the existing print.
Core Arts Standards
VA:Cr2.1.7a Demonstrate persistence in developing skills with various materials, methods, and approaches in creating works of art or design.
VA:Cr2.3.7a Apply visual organizational strategies to design and produce a work of art, design, or media that clearly communicates information or ideas.
VA:Re8.1.7a Interpret art by analyzing artmaking approaches, the characteristics of form and structure, relevant contextual information, subject matter, and use of media to identify ideas and mood conveyed.


